|


|

Closeups of the Newly Powdercoated Frame
...and other asst. pictures |
|
 |
|
Saturday, May 22,
2004
- Well, the parts are back from the powdercoaters. Although I was
told it would take two weeks, they had everything done in only 5 days!
My wife and I spend the
day in the city picking these up, intending to take our 2-year-old son
to the zoo, but when we arrived, trailer in tow with the strapped-down
frame, we found the place was packed, so we decided to not fight the
crowds. Instead, I talked her into letting me spend a half-hour or so
checking out one of the local U-Pull-It yards here, just to get an idea
of what they had in stock. Found a couple goodies...but couldn't
actually pick anything up, since I hadn't brought a toolbox with me. I'm
hoping to get back there within a couple weeks to drop off some more
parts to get powdercoated, and to bring a toolbox to snag a few more
choice parts. I took a couple pics...scroll down to the bottom to check
those out.
Unloading the frame by
myself wasn't too difficult. I got some jackstands ready and then
dragged the rear section of the frame off the back of the trailer and
onto the jackstands. Then I got another set ready for the front and then
lifted that end up and had my wife drive the truck/trailer out from
under it, and gently set it down on the jackstands. I then decided to
spend a little time checking up on the powdercoating job and getting
some good close-up shots of the frame and other parts, just to archive
them. I mean, I'll probably never have another chance like this, to get
some good shots of a bare frame that's been all cleaned up. However,
since the frame had been sitting in their warehouse for several days
collecting dust, and then got rained on coming home this evening, the
parts will appear a little dusty in many of the shots on this page. I
ended up getting a total of 89 shots this evening...many of them just
taken for future reference, though.
|
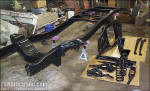
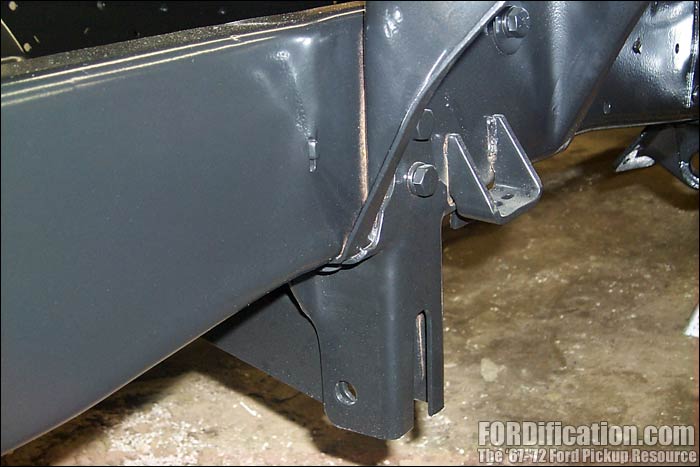
Fig. 1 - Here's the
final result, taken immediately after unloading, prior to wiping
everything down. Overall I'm happy with how things turned out, though a
few touchups will need to be made.

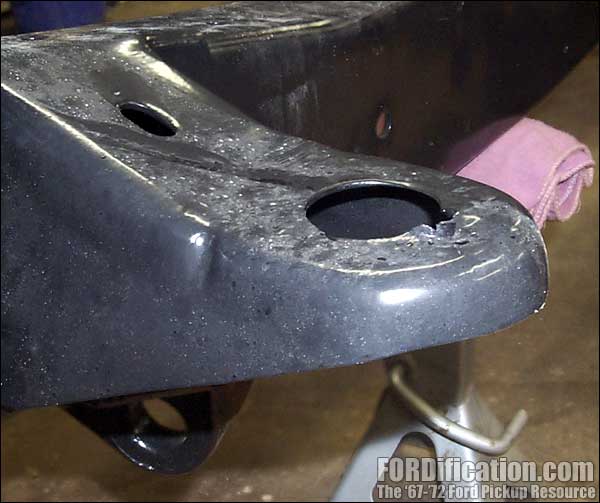
Fig. 2 - There was a little damage
to the driver's-side front cab mount bracket, presumably caused from the
rack the frame was hung on to go through the sandblaster. I'll have to
bend this back and touch it up with spray paint. However, this area will
be completely sealed off by the rubber cab mount bushings, so it'll be
completely invisible.
|
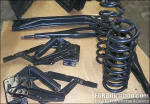 |
Fig. 3
- Hood hinges, front coils, radius arms and transmission
crossmember. The shop foreman told me he wasn't sure how the
powdercoating process would work on the hinges. He thought a
combination of the steel grit used to blast them clean and the
powdercoating itself might make the hinges too stiff. I figured I'd
go ahead and give it a shot, though...I've got a spare set that can
be painted if these won't work. |
|
 |
 |
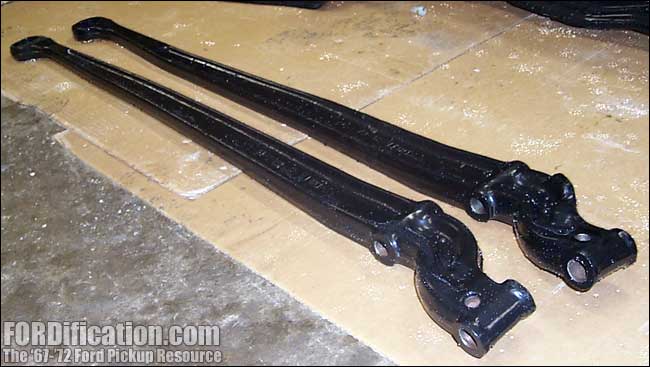
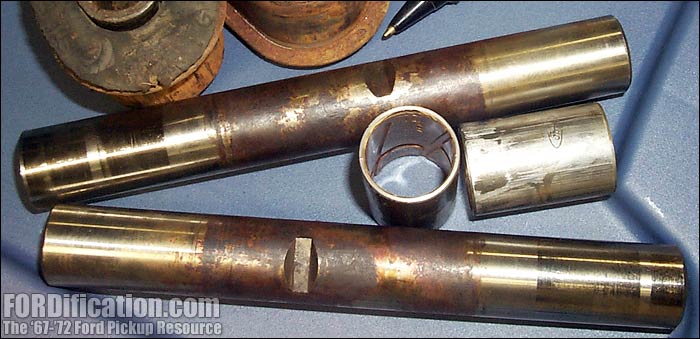
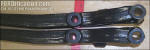
Fig. 4
- The I-beams. These are the '78 pieces pulled from the truck
back on page ??. The machined areas were protected with silicone
plugs during the blasting and coating processes. |
|
|
 |
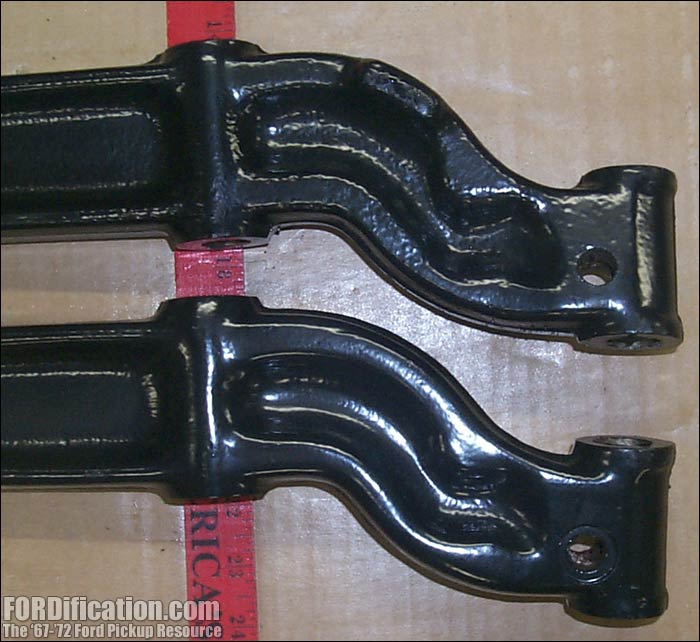
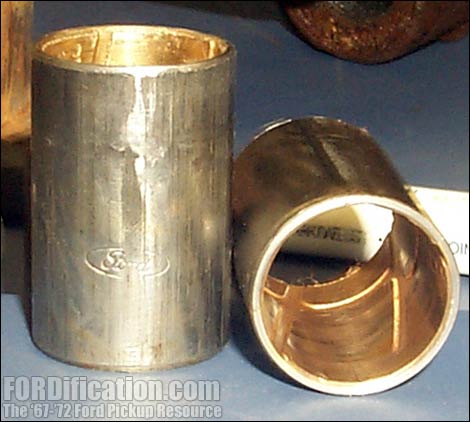
Fig. 5
- For these two pictures of the kingpin-ends of the I-beams, I
set a wooden yardstick under the flat machined surface where the
radius arm connects, so the I-beams would be identically straight up
and down. The kingpin inclination angle is very obvious in these two
shots.
 |
|
|
|
|
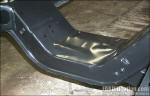
Fig. 12 |

Fig. 13 |
In these pictures, you
can see the plastic brake-line clips on the rear of the front
crossmember. I forgot to remove these prior to the coating process. They
made it through both the blasting and the oven...although they DO appear
to show a bit more wear and tear. These might have to be replaced...I'm
just worried about getting a chip started in the powdercoat when I
remove them. I'll have to take a closer look and see if they're
salvageable. |
|
|
|

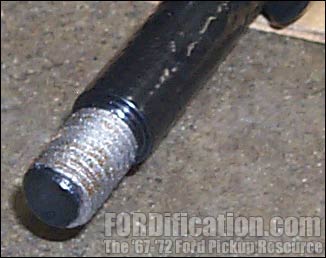
Fig. 14 |
You can definitely see
the effects of the sandblaster here. The aggressive steel grit really
ate into the threads of the frame-end of the radius arm. I'll have to
run a tap on these threads and clean them up. At first I was glad they
powdercoated the exposed end, but I'm betting it'll crack when I attempt
to clean up the threads. |
|
|
|
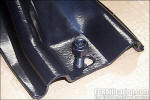
Fig. 15 |
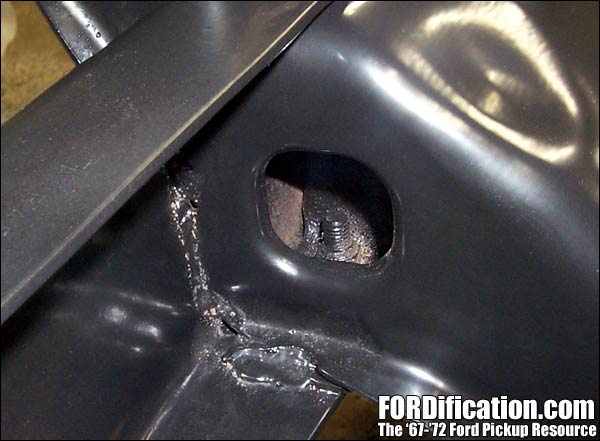
Another thing I forgot
to do was remove the transmission crossmember bolts. When I initially
removed the crossmember, I reattached the bolts to the crossmember to
keep track of them. I'm going to get a good lesson on just how strong
the powdercoating is when I attempt to remove the nut from this bolt.
They'll obviously have to be replaced. |
|
|
|
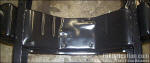
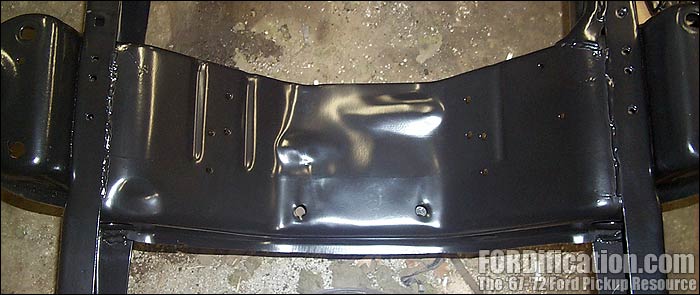
Fig. 16 |
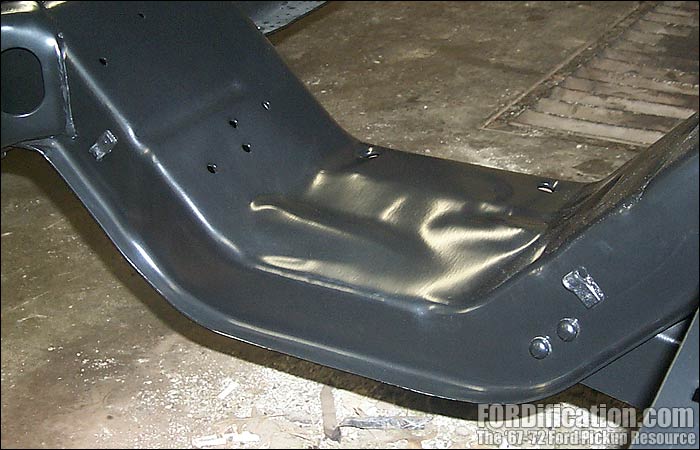
In this shot of the
front crossmember from the front, you can see the two sets of mounting
holes for the engine perches on each side. I believe the extra pair of
holes on the driver's side (the right side of this picture) are for fuel
line clips. I'll have to check on that to verify, however. |
|
|
|
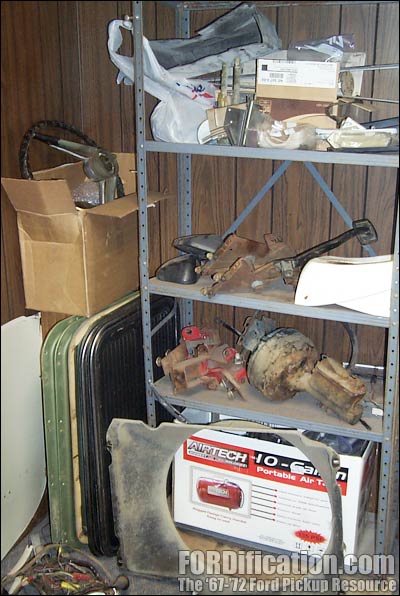
My Parts Stash
My shop is equipped with a small office that has now become 'The Vault'.
This is where I store all the parts I plan on using, so as not to get
them mixed up with parts from other trucks that get parted out. There
are some spares in here too...when sorting parts, if I wasn't sure if
I'd need it or not, it went into the vault, just in case.
Fig. 17 - A few
from the front door of the office
Fig. 18 - More parts. Everything needs cleaned up and detailed.
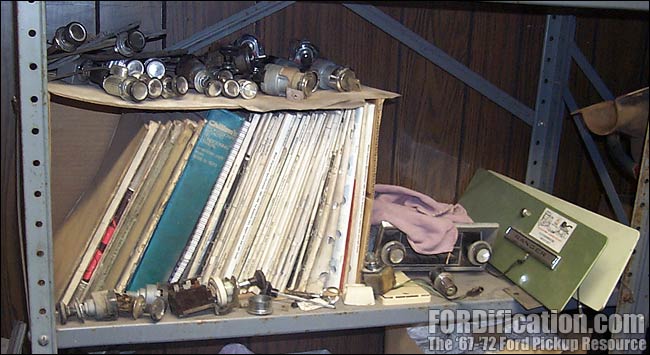
Fig. 19 - There are boxes and plastic bins full of small parts,
many in marked Ziploc bags. Never trust your memory...there are just too
much stuff to keep track of.
Fig. 20 - Three steering columns: One '68 manual-steering 4-spd,
one '67 manual-steering column-shifted 3-spd, and one '71 power steering
automatic.
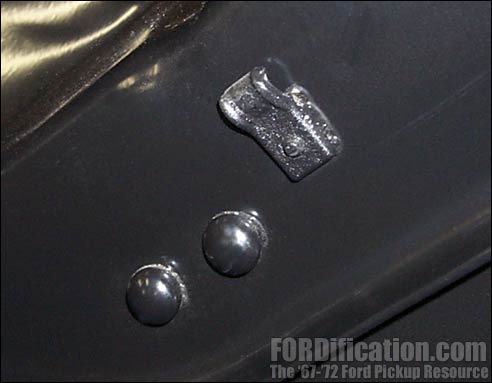
Fig. 21 - New rubber mounts, both from LMC. On the left is a
supplied radiator support bushing and on the right is a cab mount
bushing. I have several good used original cab mount bushings, so I
might try using those instead of these...depending on how these fit.
Fig. 22 - A good collection of dash switches and glovebox doors
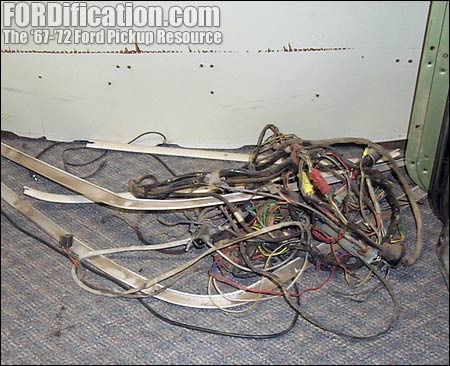
Fig. 23 - Some painted headliner trim, a backup '67 wiring
harness and the headliner panel which will be used as a pattern for
cutting a thin plywood panel, which will probably get upholstered. This
wiring harness is for standard-instrumentation...the one I'll actually
be using is for a full-instrumentation truck, which will include the
shunt to power the factory ammeter. |
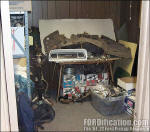
Fig. 17 |
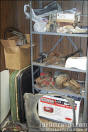
Fig. 18 |

Fig. 19 |
|
Fig. 20 |
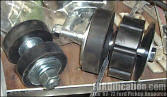
Fig. 21 |
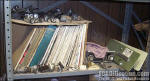
Fig. 22 |

Fig. 23 |
|
When my wife and I
drove to pick up the freshly powdercoated parts today, we'd decided to
also go to take our 2-year-old son to the zoo. However, upon arriving at
the zoo and noticing that the place was PACKED, we nixed that idea, and
I talked her into giving me a half-hour at the local U-Pull-It yard,
just to see what was in stock. Here's a small sampling of what I found.
There were only three or four '67-'72 trucks in the yard, plus about a
dozen '73-'79 trucks. |
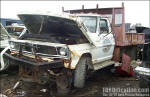
Fig. 27 - This '70 F250 4WD dually had an all-steel
flatbed with hydraulic controls for a front-mounted snowplow. |
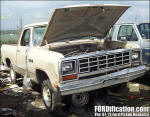
Figs. 28, 29 - WTH is this?? A DODGE pickup at
FORDification? Well, I've been keeping my eyes open for a set of 3-point
shoulder harnesses that would work for my '67, and this pickup appears
to have something that'll work very nicely, by simply adding a lower
retractor mount. |
|
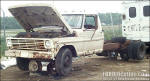
Fig.
30 |
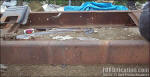
Fig. 31 |
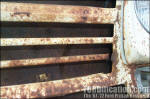
Fig.
32 |
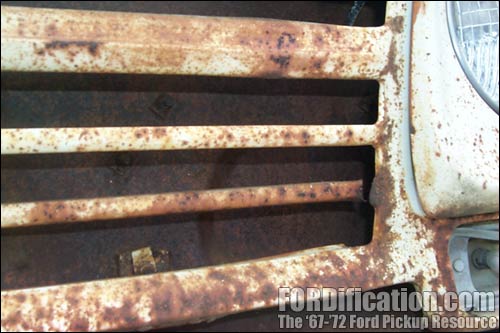
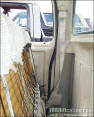
| This '68
one-ton dually was interesting. The frame had been extended about
18" behind the cab. The steel grille needed minor repairs where one
grille bar was loose, but the headlight doors were perfect. The
driver-side inner fenderwell also appeared to be in great shape. I
wouldn't mind getting my hands on the front end and dually rear, but
not much else was salvageable, aside from small pieces. |
|
|
So here's where I am at
the moment...I need to get some more parts on order, specifically the
kingpin bushings, I-beam pivot bushings, brake hardware (rotors,
calipers and bearings/seals) and rear leaf spring bushings. These things
will allow me to assemble a rolling chassis. Once this DOES become a
roller, then it'll probably be back to work on the cab, repairing the
roof rot and replacing the rear cab corners and front cab
mounts....which, in fact, are some more parts that I need to order very
soon. Stay tuned! |
|
 |

Want to link to
this site? Please save this banner to your hard drive to place on your
webpage.
The correct link to use is
http://www.fordification.com
|