|
December 30, 2004
- Though I haven't made an update for a few months, I haven't been
COMPLETELY lazy. Several weekends ago I spend the day sandblasting the
fuel tank's skidplate, and then giving it several coats of POR-15
followed by several coats of Krylon Semi-flat black. However, after not
really getting much more done since then, I decided to take a vacation
day today to get started getting the fuel tank cleaned up and sealed. I
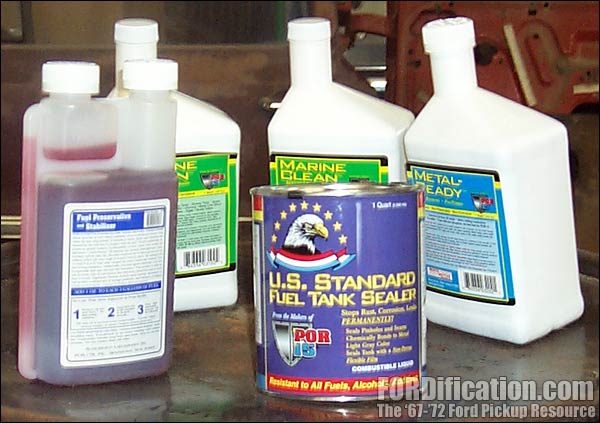
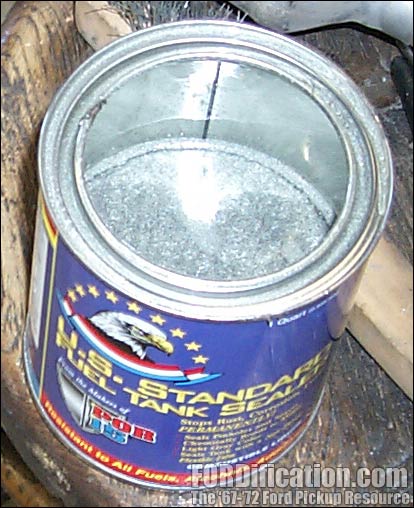
ordered a fuel
tank repair kit from POR-15 several weeks ago in anticipation of
doing this, which includes 1 quart of MarineClean, 2 quarts of
MetalReady, a quart of tank sealer and a quart of fuel stabilizer (Fig.
1).
I was originally
planning on just having a local radiator shop boil out and seal the
tank, but upon contacting one and talking with the owner, he convinced
me to just do it myself. He suggested flushing it out with muric acid
and then with acetone (since it dries faster than water), and then
sealing it. However, after I decided to do it myself, I then decided to
just pop for the POR-15 kit so I'd have everything....and I know that
POR-15 products are very good.
Since I would be doing
this all by myself, I had to find an easier way of sloshing the
solutions around instead of just manhandling the tank around. I ended up
attaching an engine sling to two holes already existing in the tank's
lip and then hanging the tank from my engine hoist (Fig. 2). By
attaching the sling to the end opposite from the drain valve, I simply
had to let it hang completely down to drain the fluids out.
I started the tank
preparations by sealing the filler and vent tubes with duct tape. I
mixed the MarineClean 1:1 according to the directions and dumped it in
the sending unit hole, then sealed that up with duct tape. (The
MarineClean is a great cleaner and is used to remove any gum, tarnish or
sludge.) As soon as I started sloshing the tank around, however, I
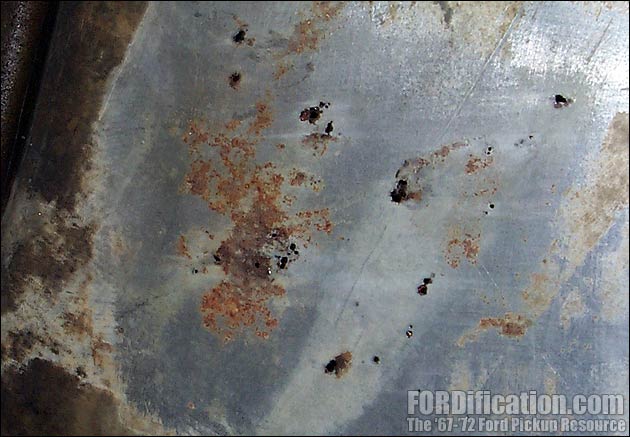
noticed a lot of drips. At first I thought I hadn't sealed up the filler
tube well enough, but upon checking closer, I found that my tank
actually has a bunch of rust pinholes at the very bottom of the tank!
(Fig. 4) They're not large though, which is why I didn't notice them
before (this tank came from a salvage yard), so I'm hoping the fuel tank
sealer is as good as I've heard and that they'll get sealed up. The
largest of the holes is about 1/8" wide. The instructions for the repair
kit say that you simply need to cover the pinholes from the outside with
duct tape when using the sealer, and then to remove the duct tape
afterwards. I'm thinking I might also put a thin coat of epoxy on the
outside after the interior of the tank is coated, just as a
precautionary aid. However, if this doesn't work, I know where I can get
my hands on another tank like this one from a different salvage yard. I
just hope I don't have to go that route!
After temporarily
sealing the pinholes with duct tape, the MarineClean was sloshed around
inside the tank to coat all the surfaces. I allowed the tank to sit for
about 15-20 minutes on each of the three non-rusty sides and then for
about 45 minutes on the bottom where the rust was most prevalent. I then
removed the duct tape from everywhere and drained the solution. It was a
clear solution going into the tank, but after dissolving a lot of the
rust, it was a completely different color coming out (Fig. 5). I then
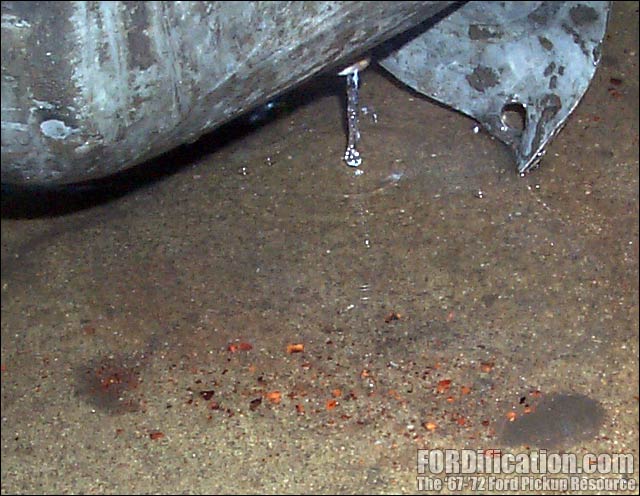
hooked up the water hose to the hot water outlet and rinsed the heck out
of the tank, both inside and out. I was still getting some rust flakes
during this step (Fig. 6), so I kept rinsing it out until the water was
completely clear and flake-free.
Continuing to follow
the instructions, I dumped the quart of MetalReady into the tank.
MetalReady will dissolve any remaining rust, coat the tank with zinc
sulfate and etch the metal for better adhesion for the sealer. I
repeated the tank revolutions, giving each partial revolution about a
half hour to do it's thing. I also gave the tank a good shaking between
revolutions, just to get things agitated and spread around as much as
possible.
During one of the
30-minute periods, I ran up to the local drug store and picked up a
cheap hair dryer. Any residual moisture in the tank will not allow the
sealer to adhere well, so it's critical that the entire interior of the
tank be 100% dry. I could have just let it set for a week or so, but
it's suggested to use a hair dryer for 2-3 hours to aid in speeding up
the drying process. The hair dryer outlet was the exact same size as the
tank filler tube neck, so I just duct-taped the dryer right to the tank,
turned it on and puttered around the shop, keeping an eye on the tank
progress. It worked extremely well....after about 20 minutes, the entire
tank was very warm, and after about 2 hours it appeared that the tank
was completely dry. However, I decided to let it sit overnight before
applying the sealer. That's on the agenda for tomorrow morning.
|
Fig. 1 - This is the
fuel tank repair kit from POR-15.
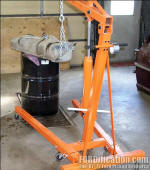
Fig. 2 - One end of the tank was hung from the engine hoist, to make
manhandling the tank a bit easier.

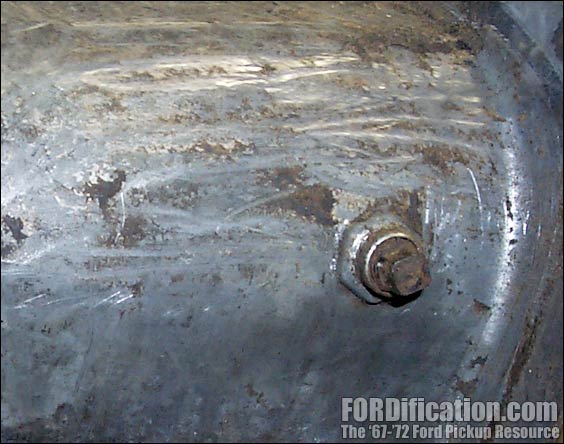
Fig. 3 - The factory auxiliary tank has a very convenient plug for
draining the tank.

Fig. 4 - Hopefully the tank sealer will take care of these pinholes.
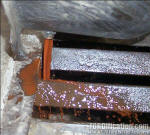
Fig. 5 - The MarineClean was clear going in, but it was sure a
different color coming out!

Fig. 6 - Here's a shot of some of the rust flakes that came out of the
tank when rinsing it out with the water hose.
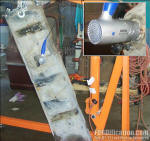
Fig. 7 - After the tank was rinsed out, a hair dryer was attached to the
filler tube to dry the interior in preparation for the sealer.
|