|


|

|
Getting Started with Cab Bodywork |
|
 |
|
Saturday, October 22, 2005 - I've been working
on and off on the truck over the past couple weeks, but am just
now getting around to getting an update page posted. So there
will be several entries on this page. |
|
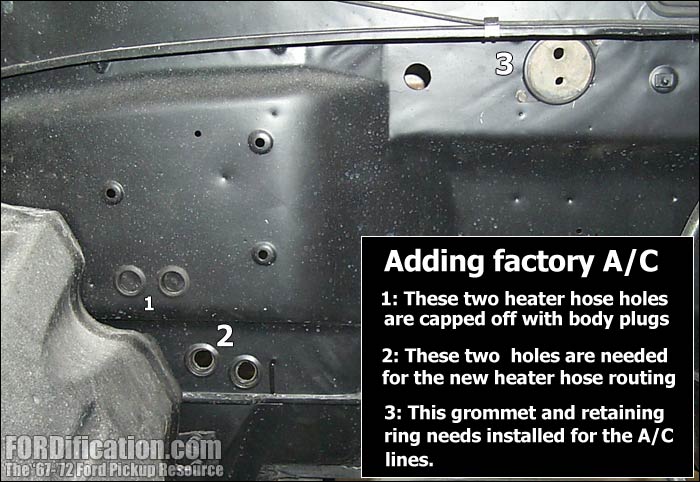
Sunday, October 16, 2005 - As I mentioned in my
last update, I've been trying to figure out whether to use the
dealer add-on A/C setup or to go with the factory configuration.
After much thought, I've decided to go ahead with the factory
setup. Therefore, I got the necessary holes cut into the
firewall to run the A/C hoses and to accommodate the new heater
hose routing. The heater hoses will now enter the cab 4"-5"
below where the stock heater hoses were, and there are dimples
in the firewall in the appropriate locations to show where the
holes needed to be added. I also cut the hole in the
upper-center portion of the firewall for those A/C hose grommet,
and drilled the two holes for the grommet retaining ring. The
firewall was also dimpled in the right spot for these two screw
holes. However, I found it very interesting that these two areas
were already marked for A/C, since '67 trucks didn't have a
factory A/C setup available...they weren't available until the
following year. Therefore, I'm guessing that Ford knew the
option was coming and went ahead and prepared for it by marking
the firewall in the appropriate places. Even though the dash and
doors were updated in '68 with new safety features, the firewall
panel remained the same.
You
can see the holes that I added to the firewall for the A/C setup
in Fig. 2. In addition to those, I'll also be plugging the three
holes for the stock heater box mounting, since these aren't used
with the A/C unit. For mounting the unit, I'll drill one
additional mounting hole in the large dimple visible in Fig. 2
next to the upper-right heater box mounting hole.
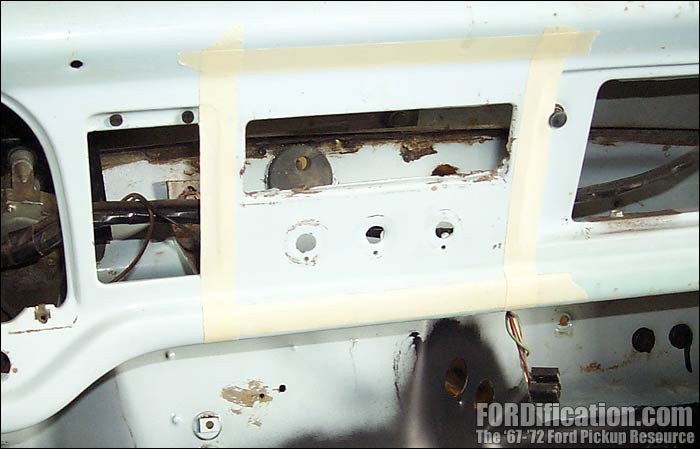
I
then had to get started getting the dash set up for the A/C
heater controls (Figs. 3 thru 5). Ford started using slider
controls in '68 for the heater and A/C instead of the pull
cables used in '67. Using the patch panel I cut from a good '68
dash (back on Page 49), I cut the
patch panel just large enough to fit over the hole I cut into
the dash. On the bottom, the panel is secured with one screw and
the dash brace bolt (both of which will be hidden once the A/C
setup is installed). The top of the patch panel is screwed into
the dash with three screws which will be hidden by the dash pad. |
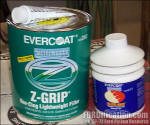
Fig. 1 - I stopped by the parts store and picked up the body
filler and glazing putty. I went for the professional stuff for
this project.
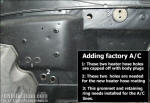
Fig. 2 - Here are the holes needed to add the factory A/C
setup. Since I didn't have the appropriate hole saws needed, I
just drilled a 1/2" hole in each location and used a die grinder
to enlarge them to the sizes needed.
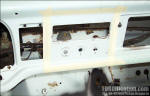
Fig. 3 - I masked off the area of the dash that would
need trimmed out for the '68 patch panel. |
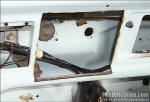
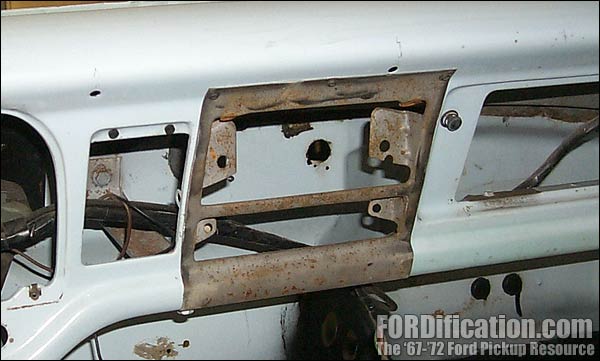
Fig. 4 - Here's the dash panel after cutting out the
center portion. Yeah, I know...the top was cut a little crooked.
Oh well, it'll be hidden by the patch panel. |
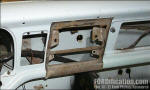
Fig. 5 - ...and here's the dash panel from the '68
mounted into the '67 dash. Once it's painted the same color as
the rest of the dash it'll be almost invisible. |

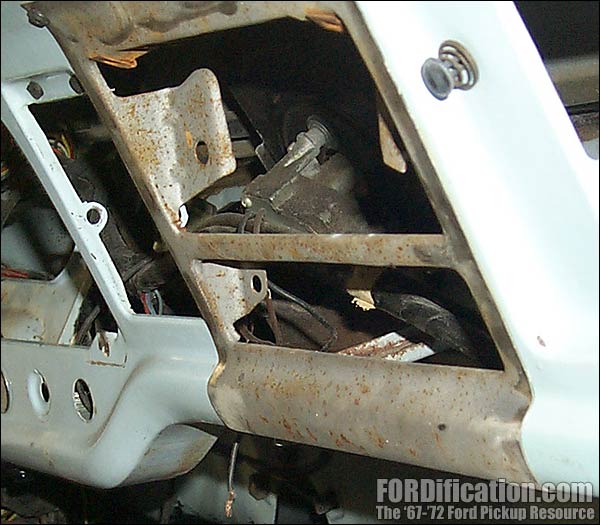
Fig. 6 - This side view shows how the panel will set flush
with the rest of the dash. |
|
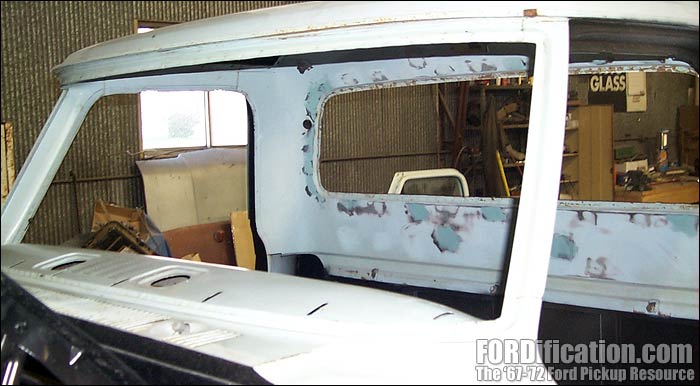
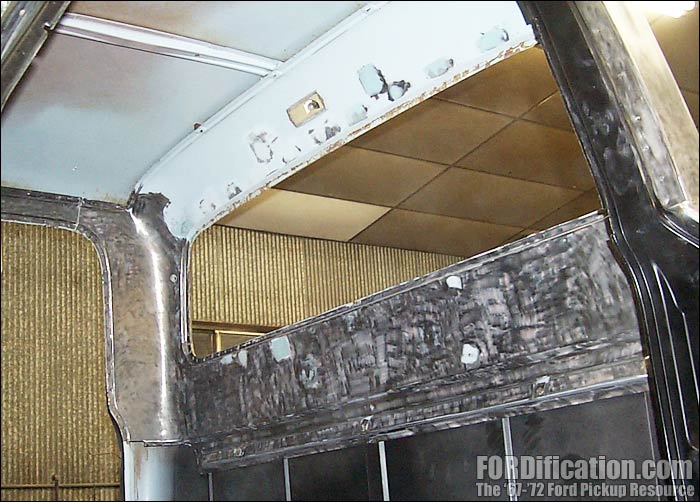
After getting the patch panel in place, I turned my attention to
the front windshield area. All the black goopy windshield sealer
was still in place after removing the windshield, and it needed
cleaned up. I found that the MarineClean I got from POR-15
worked pretty well for this. Then I got started touching up the
holes that I welded up around the rear window last time. The
welds were ground down fairly smooth but still needed a very
thin coat of filler to finish them off. You can see my
progress in Fig. 7, though a little bit of sanding still remains
to be done there. |
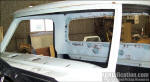
Fig. 7 - This shot shows the cleaned-up windshield area and
the body filler being applied to the holes around the rear
window. |

|
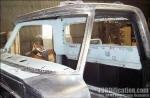
Fig. 8 - The cab is getting cleaned up here. Since the wire
wheel could distort the cowl vent fins, those will have to be
sanded by hand. |
Wednesday,
October 20, 2005 - I normally don't get the
opportunity to go to the shop on weekday nights, but the
opportunity presented itself this evening, and I couldn't say
no. I got started getting the cab stripped and ready for paint.
I spent about 5 hours with a wire wheel attachment in the angle
grinder and got almost half done with the job. I should be able
to finish this up with another day's worth of work. |

Fig. 9 |
|
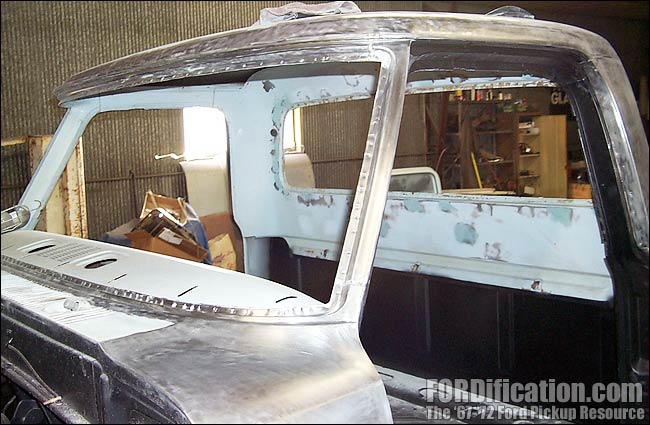
Saturday, October 22, 2005 - Well, I guess I'm
gonna need a little more than a day. I spent about 8 solid hours
today on the cab and didn't quite finish it up like I'd hoped.
However, it IS about 98% done. Actually, the exterior is
completely done, except for some needed touchup around the cowl
vent holes, but the interior still needs a little work. I
completely wore out two wire wheel attachments and will need one
more to finish the job. |
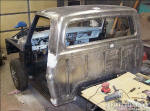
Fig. 10
- Purty, ain't it? |
|
 |
|
Fig. 11 - The cab's exterior is now
completely stripped, except for the cowl vent area,
which will be hand-sanded, since the vent fins are
too delicate to use the angle grinder. |
|
|
 |
|
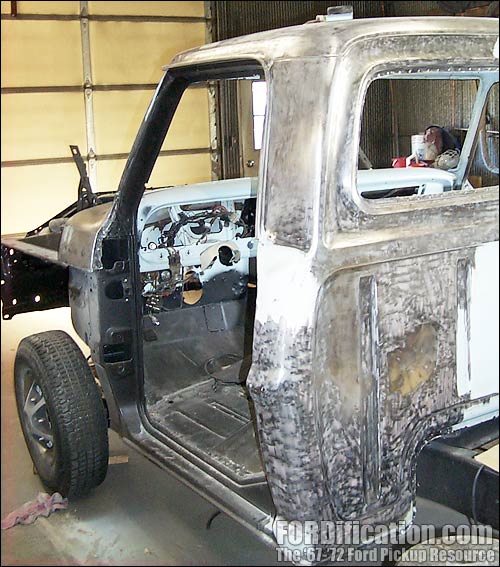
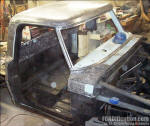
Fig. 12 - This shot shows what's being done
to the cab interior. Since the rear cab wall and
front kick panel areas are already stripped and
painted with POR-15, they'll just need a light
scuffing before applying the main top coat of paint. |
|
|
 |
|
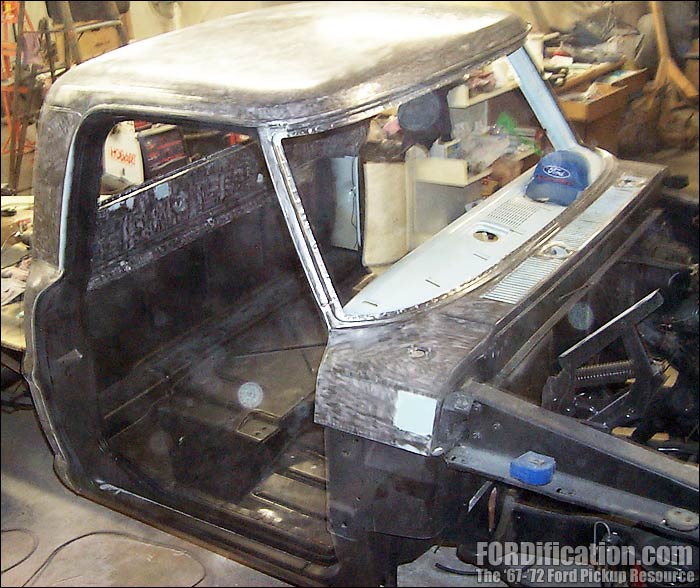
Fig. 13 - I decided to undo my filler work
around the rear window. Once the interior is
completely stripped I'll have to reapply the filler
as needed. This shot was taken just before heading
home tonight. |
|
|
Well, this is where I'm setting at the moment. I'll need a
couple more hours to completely finish stripping the cab, and
then another day's worth of work applying filler as needed.
Since I've tentatively decided that this truck is going to be
painted black, the surface will need to be perfect, since black
tends to show every flaw, no matter how minor. I've got the
time, so I'm just going to use it trying to make this as smooth
as glass. I'm going to be setting down and researching the
available options I have in regards to paint, but I believe I'll
be going with a single-stage urethane, due to ease of
application and future touchups.....but we'll see what happens.
As with most things in this project, decisions change
day-to-day, so anything's possible. Stay tuned! |
|
 |

Want to link to
this site? Please save this banner to your hard drive to place on your
webpage.
The correct link to use is
http://www.fordification.com
|