|
Comments:
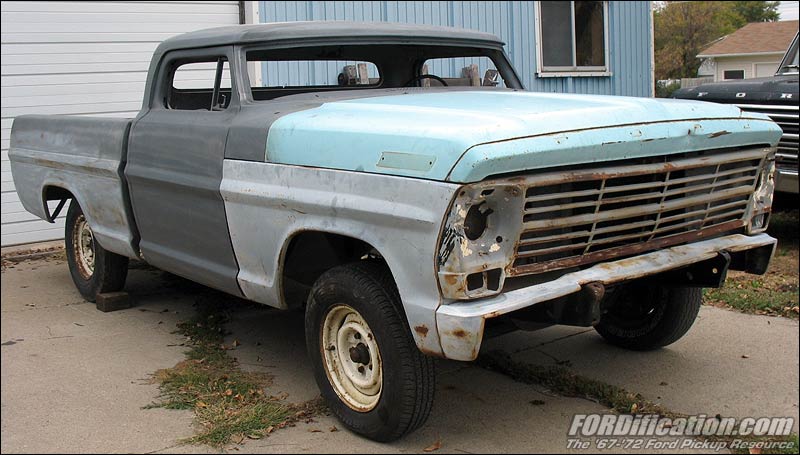
The hood in
these pictures was one that was just used for the ride home,
to help make the truck a bit more aerodynamic...and maybe
just a little bit to have the overall complete look for the
ride home. It's got a few heavy dents in the front that I
don't feel like messing with, especially since I've got a
dent-free hood, so it'll be discarded.
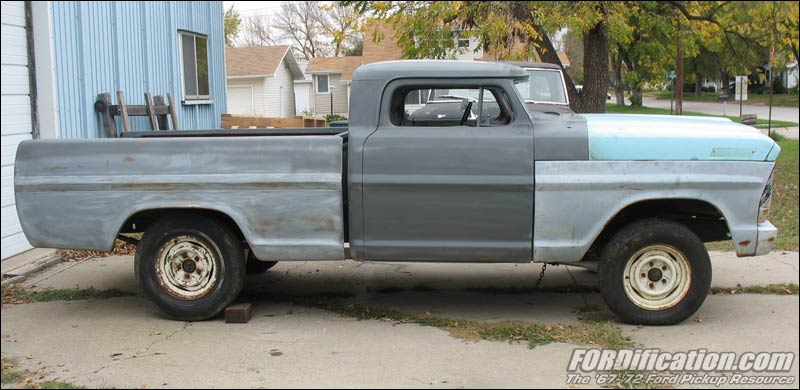
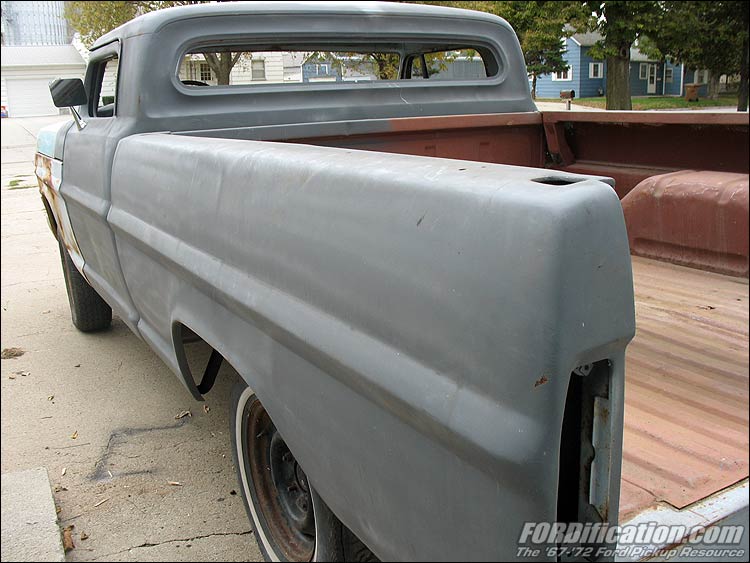
You'll
notice that there's a large gap between the cab and box.
When I was tying the truck down to the trailer, I noticed
that the cab wasn't bolted down, and since I didn't have any
cab mount bolts with me, I just used my come-along to cinch
it down to the frame, via a hole cut in the transmission
tunnel. When I cinched it down, it moved forward a couple
inches, so the gap in these pictures is way more than it
will be once the cab is actually bolted into place.
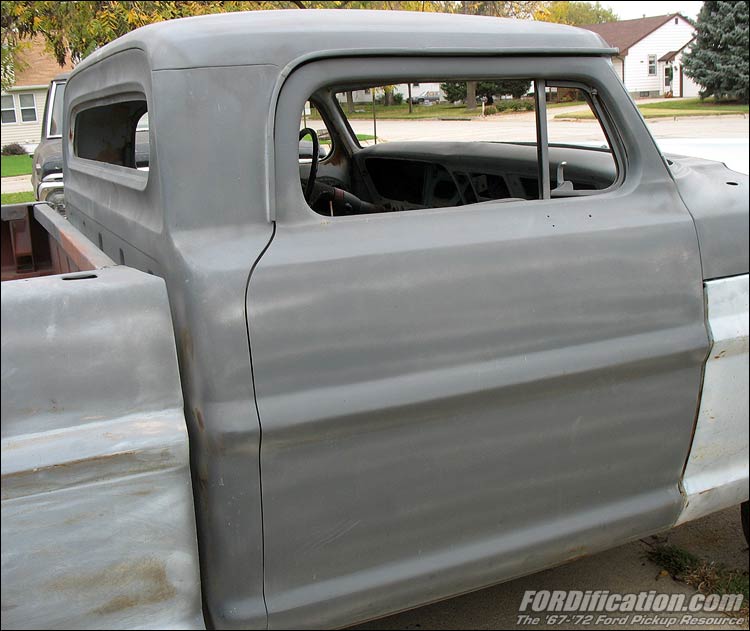
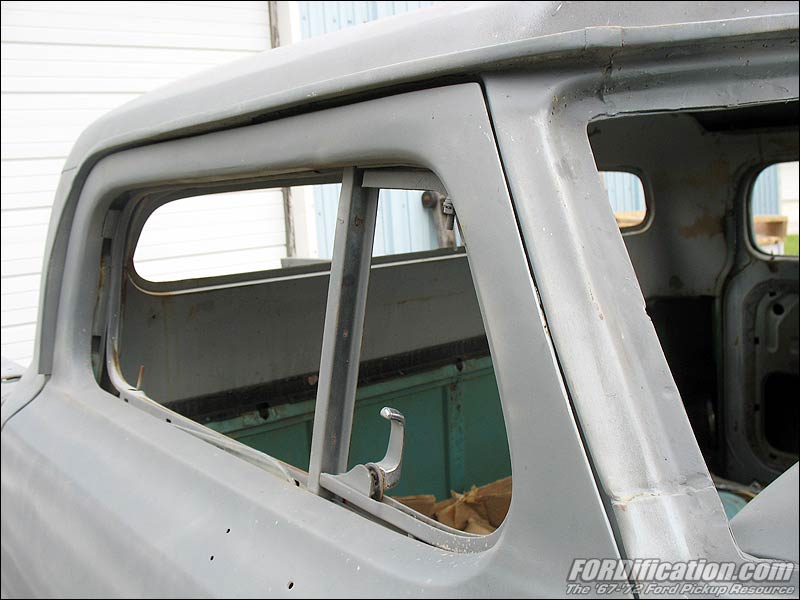
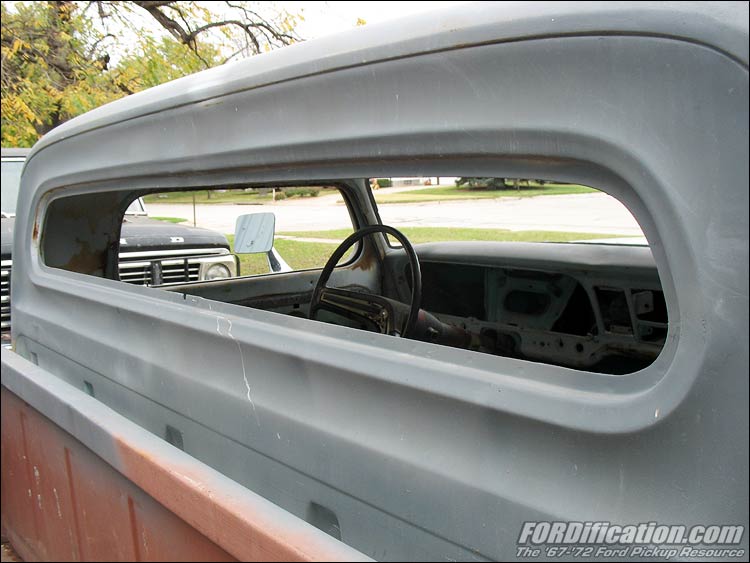
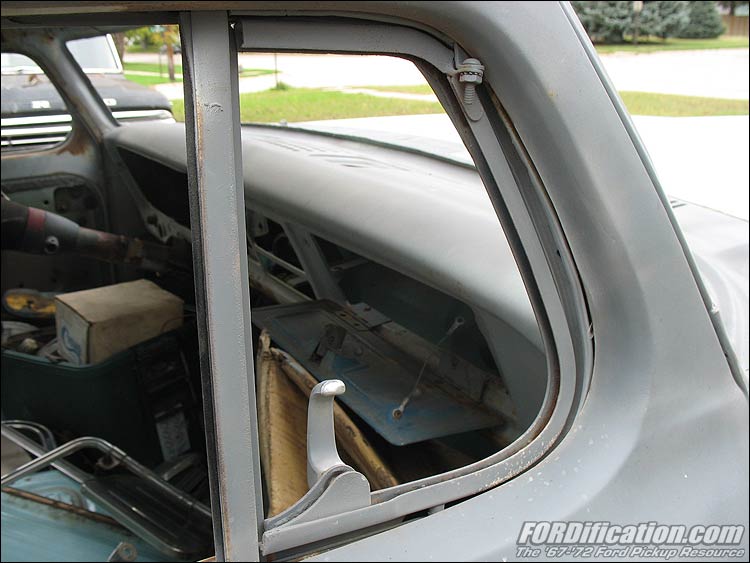
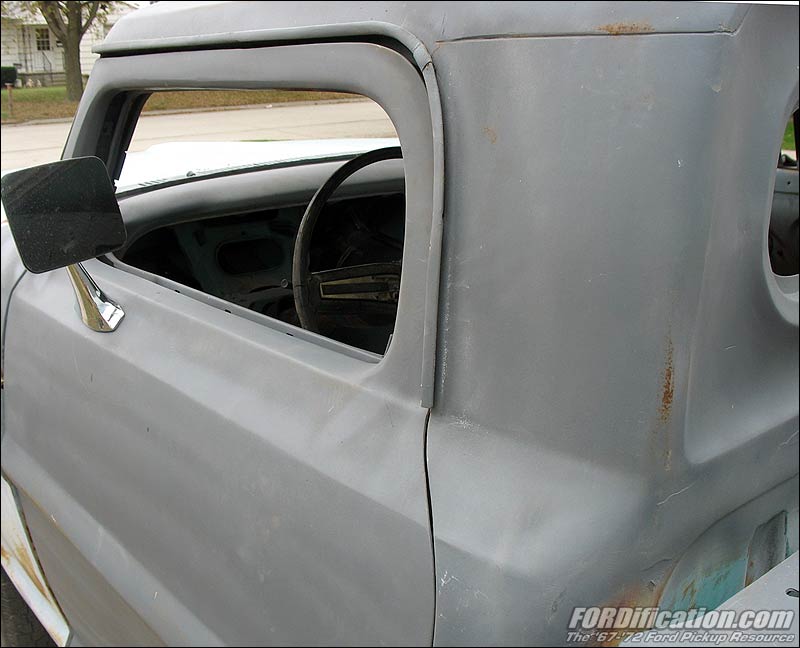
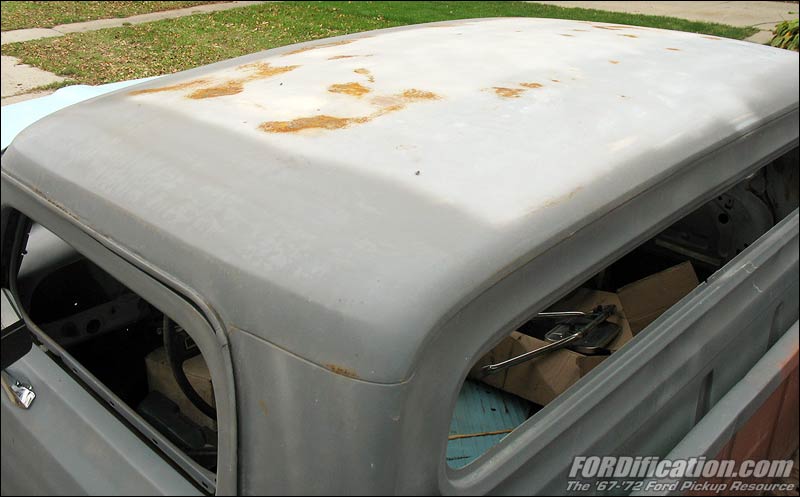
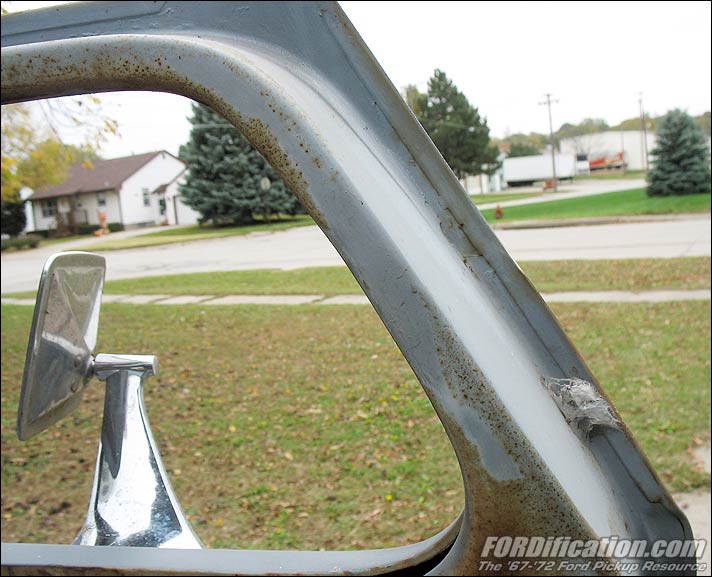
As I
mentioned earlier, the overall execution of the chop was
done very well, I think. It's still rough in a few spots and
will need some touch-up here and there, but all the hard
work has already been done, with the exception of cutting
the glass. The wing window frames have also been chopped,
though they'll require a little tweaking as well to mount
properly. The chop is exactly 7 inches, and leaves me with
5-3/4" rear window and an 11-5/8" front windshield, with
9-1/2" side windows.
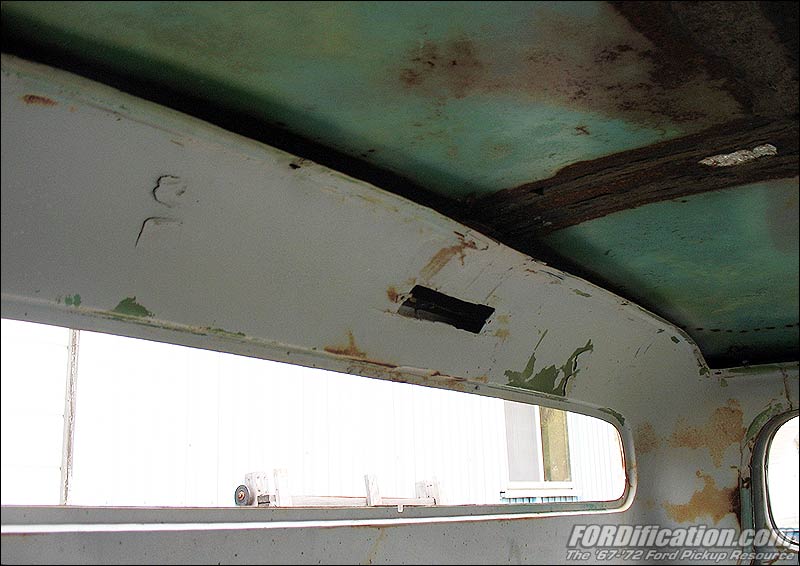
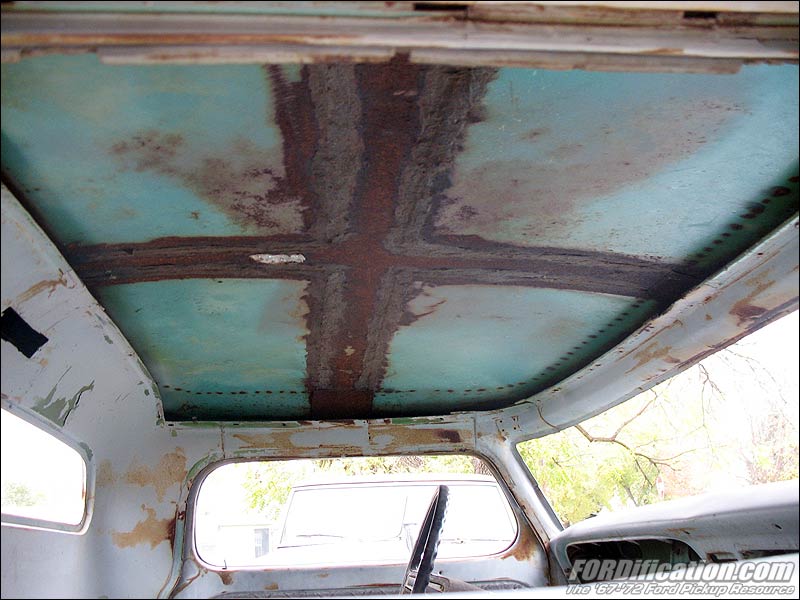
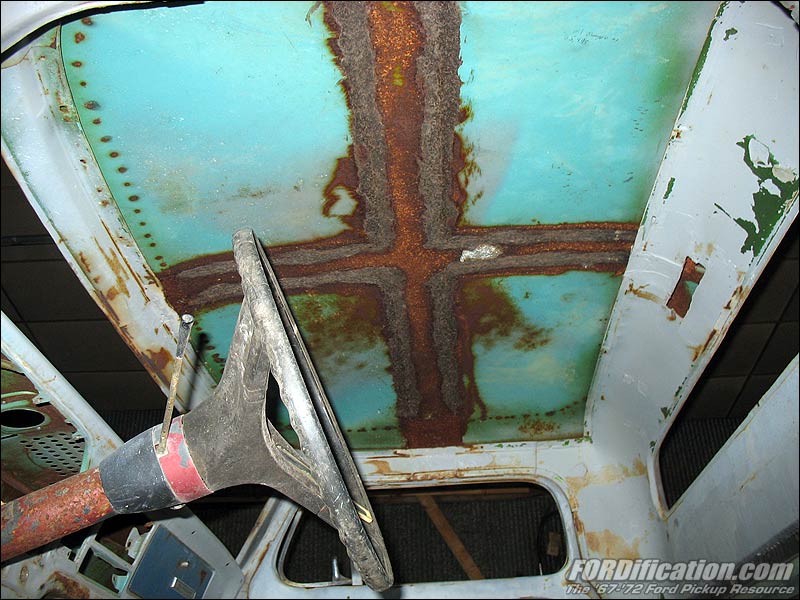
In Figs.
14, 15 and ?? you can see how the roof panel was sectioned.
It does look a little rough from the inside, but this will
be completely hidden by the headliner anyway. While it's
obvious that some body filler was necessary, he did a nice
enough job on the sectioning that the filler was kept to a
minimum.
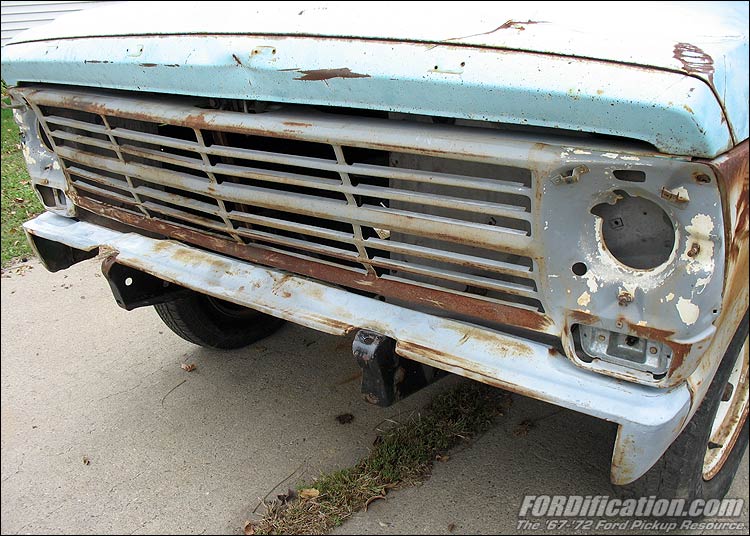
Although
the truck came with a very straight '68 steel grille (Fig.
16), I'll probably use my own steel '67 grill instead, which
will probably be painted to match the body color. The inner
fenderwells (Figs. 18 and 19) are in good shape overall,
aside from a hole in the battery tray area...an easy fix.
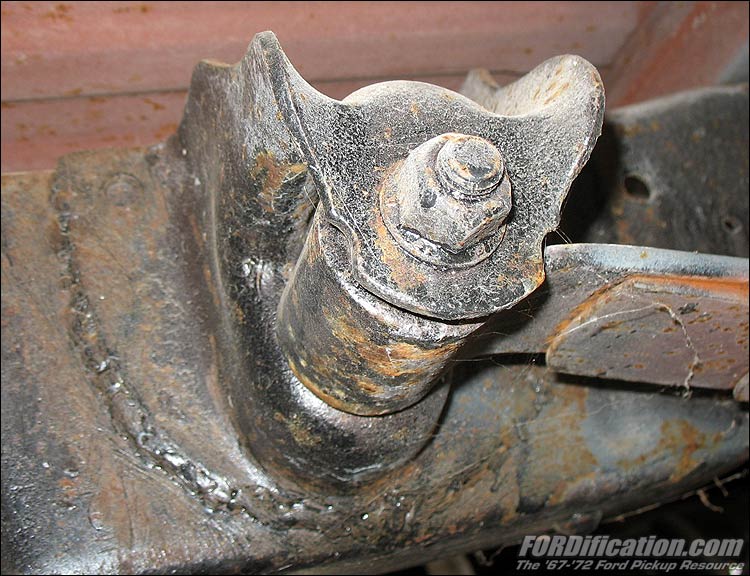
Fig. 17
shows the modified front leaf-spring mount for the rear
springs. The previous owner simply trimmed the top half of
the mount and then repositioned it about 4 inches higher and
welded it to the frame, resulting in a cheap lowering job
for the back end. However, this obviously changed the
rearend's pinion angle, so if I decide to keep this setup,
I'll have to also reposition the spring pads on the rearend
to correct the excessive angle.
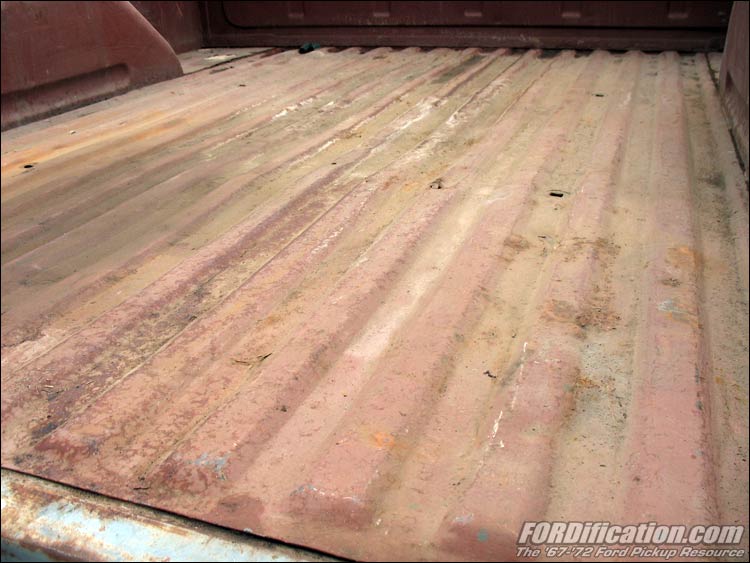
Figs. 20
and 21 show that the bed floor is in pretty good shape
overall, though a little wavy. I believe I can straighten it
out though. There's also one small rust hole in the bed
floor that will need patched.
You can see
in Fig. 22 that the bed side seams have been filled and
smoothed. However, it appears as if this was done with body
filler instead of being welded, so I'll have to decide if I
want to clean it out and start over or not. There are some
micro-cracks forming where the bed's endcaps meet the sides,
so at the very least I'll have to redo this section.
Fig. 23
shows how the filler neck hole was filled and the door
handles shaved. Guess I'll be shopping for some electric
door poppers.
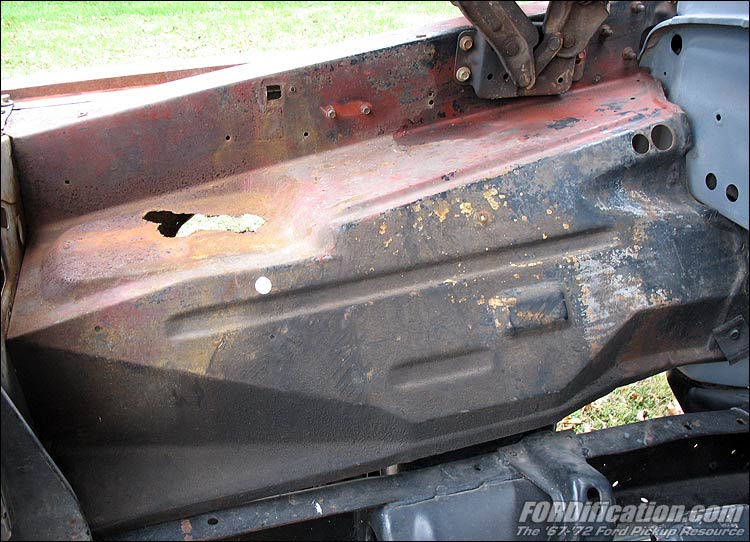
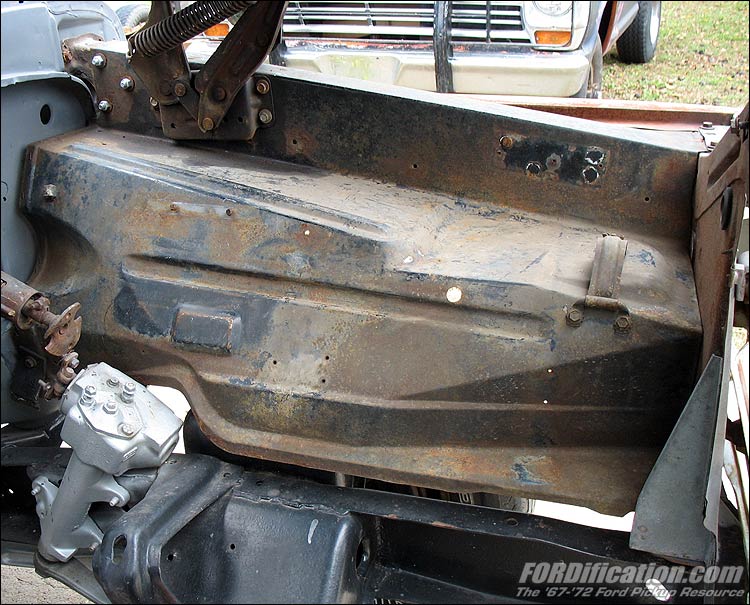
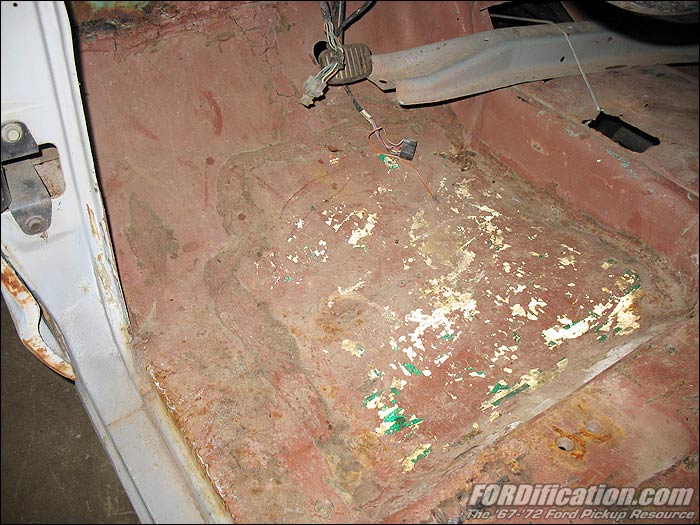
While the
front cab mounts appear to be in great shape, the cab's
floorpans, center support ends and and rear cab corners have
been replaced. In Fig. 25 you can see how the left-side
floorpan was replaced...with a section of road sign as the
replacement sheetmetal. While it looks a little funny with
the green sign lettering showing through the primer, the
repair job appears to have been done fairly well. You can
also see how the cab was secured down to the frame with my
come-along, since it wasn't bolted down. Also, you can see
how the transmission tunnel has been cut out. I've got a
good bolt-on cover, so I'll just cut the entire tunnel
section out to use the bolt-on cover, which will also raise
the floor shifter up a little bit.
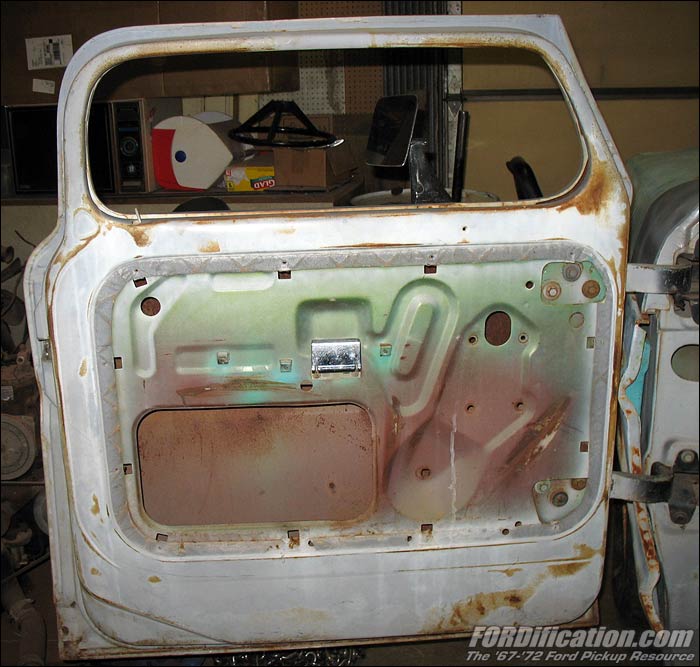
Figs. 27
and 28 is a view of the inside of the left-side door. As you
can see, the chop to these appears to have been done very
well as well...you virtually cannot tell where the door was
sectioned and rewelded.
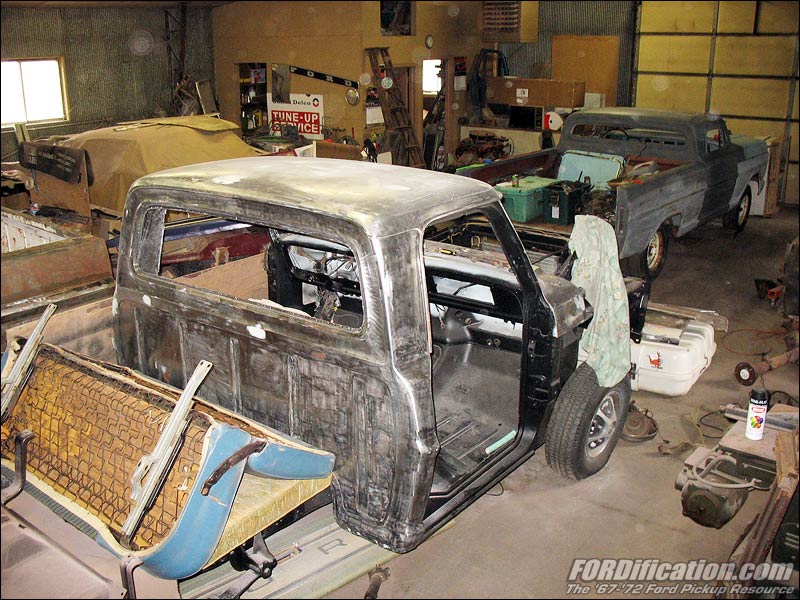
Fig. 29
shows how my shop is getting pretty crowded now, with my
current '67 SWB project, the new choptop and my '67 Olds 442
(under the car cover). My wife thinks I have too many
car/truck projects...I say "there's no such thing!" |