|
This article
is intended to help owners of 1967 through mid-1977 F250 4WDs (commonly
referred to as “Factory Highboys”) convert their current manual steering
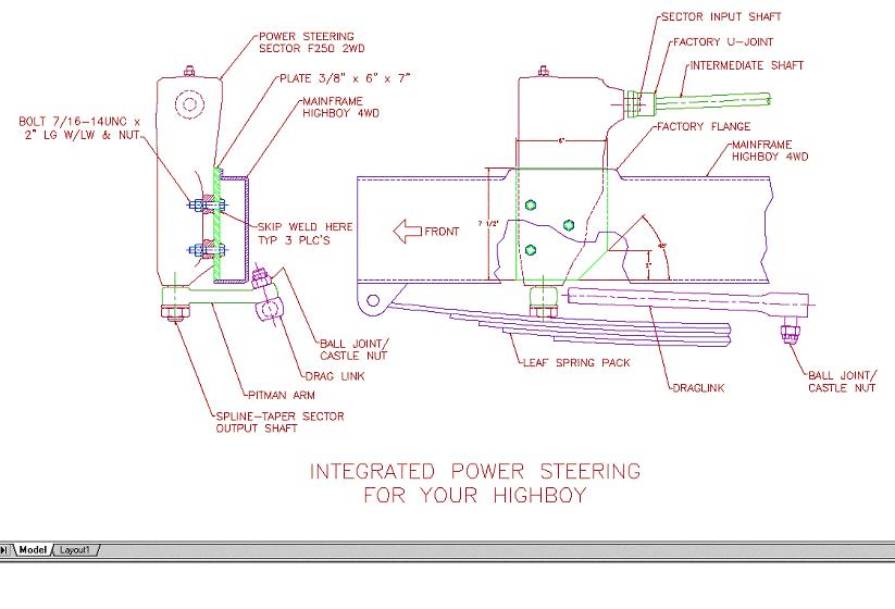
/ power assist steering setup to an integrated power steering system. I
chose to utilize the power steering sector (power steering box) form an
early 70’s F250 two-wheel-drive truck. This sector has been used by Ford
on the two-wheel-drive trucks for many years / models – It can be
identified by the three tapped mounting holes in the body (vs. the
1978-1979 F250 4wd box that had 4 mounting holes and are becoming very
hard to find and expensive). On a side note, if you can find / afford
the ’78-’79 4wd sector definitely go this route with the conversion, as
it is almost a direct bolt on to the Highboy.
I will walk
you through all the steps I took to install this on my 1972 F250 4WD.
This procedure is not gospel, you may choose to do it differently, but
these are the steps that worked best for me.
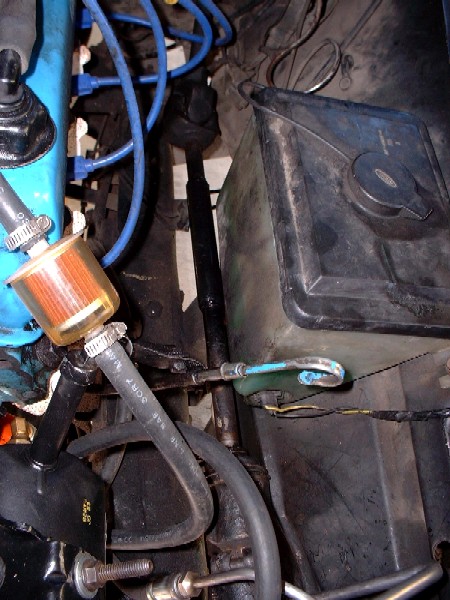
1. I bought
an early 70's two-wheel-drive F250 truck and robbed the steering box,
pitman arm, pump and lines from it. I removed some steering components
from my '72 Highboy, namely the manual steering sector and pitman arm,
intermediate shaft (this is the shaft from the end of the steering
column to the steering sector), the draglink (this is the shaft from the
pitman arm to the steering arm on the axle) and the drivers’ front
wheel.
2. I cut a
3/8" plate 6" wide by 7-1/2" long (note: one corner of this plate will
need to be cut at 45° x 2” to clear the engine front cross member)
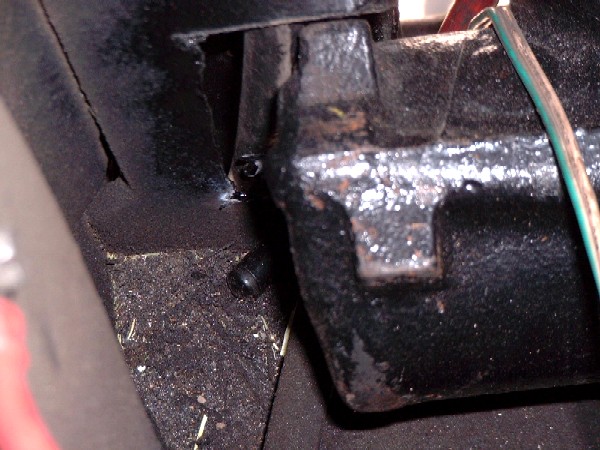
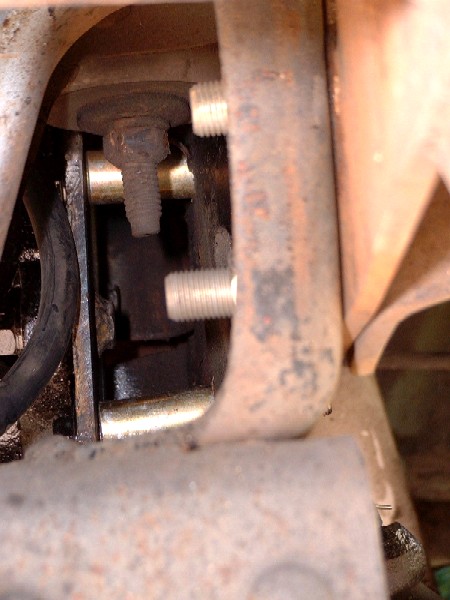
3. Test fit
the plate on the inside of the mainframe, where the old steering sector
use to reside. (I actually tack welded the plate to the frame
temporarily. Note that this plate will need to be removed later and
match drilled) You will notice that the top flange (inner lip) of the
mainframe is bent upward, I mounted my plate flush against this and set
the bottom of the plate on the lower mainframe flange.
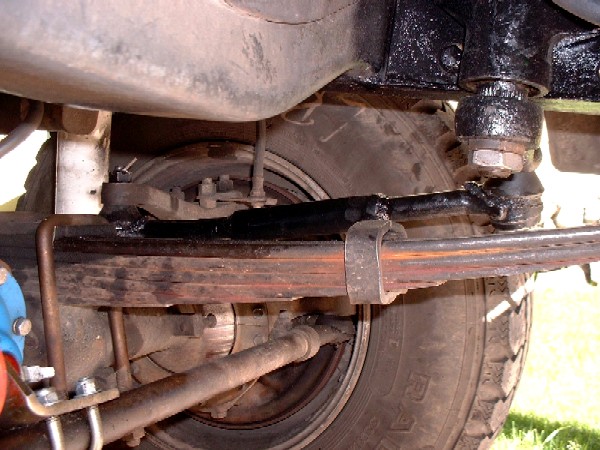
4. Install
the pitman arm to the steering sector; orient the arm so that it points
to the back of the box. Note: when installed on the truck the steering
box will be oriented on the inside of the mainframe and the pitman arm
will be pointing outward, under the driver side frame rail and above the
leaf spring. Note: the pitman arm will need to be rotated 90° from
original to work. It can be stubborn to remove since it’s a spline-taper
fit. I used a small handheld propane torch and a large gear puller to
remove mine.
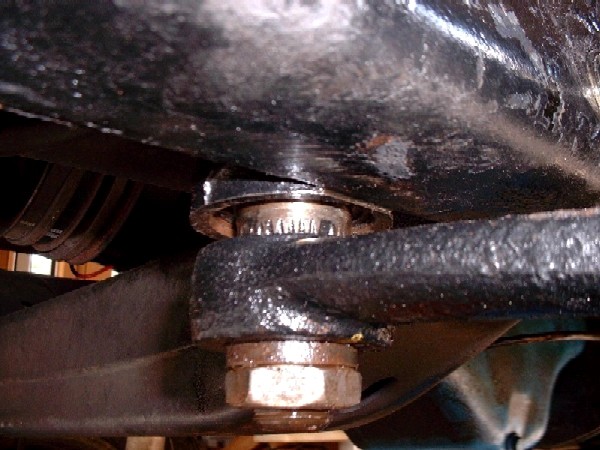
5. Have a
buddy help you lift the sector into place and C-clamp it against the
plate. Alignment is critical, the sector must be located so that the
pitman arm just clears under the mainframe and has enough room for
articulation to clear above the leaf springs. I actually had to trim
some sheet metal from the radiator mount to get the box in the proper
location.
6. Once the
sector is in the proper location, use a marker to transfer the mounting
hole locations to the plate. Now mark the location of the plate to the
mainframe.
7. Remove
the sector, and the plate. Center punch the plate and drill three holes
15/32” for 7/16” bolts.
8. Take the
steering sector and drill out the three tapped holes in the box to
15/32” diameter. Also you might want to take a small hand grinder / die
grinder and/or Dremel to grind down the area on the front of the sector
so the lock washers and nuts will sit flat. Mount the plate to the back
of the sector using three 7/16”-14UNC x 2” LG grade 8 bolts, jam nuts
and lock washers. Orient the heads of the bolts to the backside of the
plate. This in essence makes the bolts mounting studs. (Note: I used
these longer bolts as 'studs' because it makes it easier for removal and
installation of the heavy steering sector.) Once the plate is bolted
tightly to the sector, skip weld the bolt heads to the backside of the
plate.
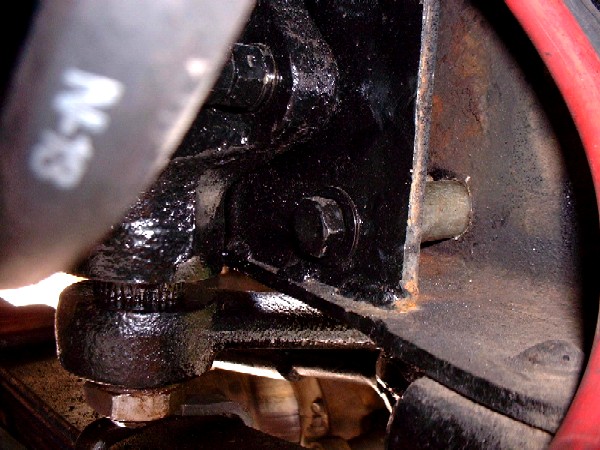
9. Keeping
the sector bolted to the plate, install the assembly to the mainframe
once again. Check all clearances and articulation of the pitman arm.
Tack weld the plate to the mainframe. Remove the three jam nuts, lock
washers and steering sector.
10. Final
weld the plate to the frame.
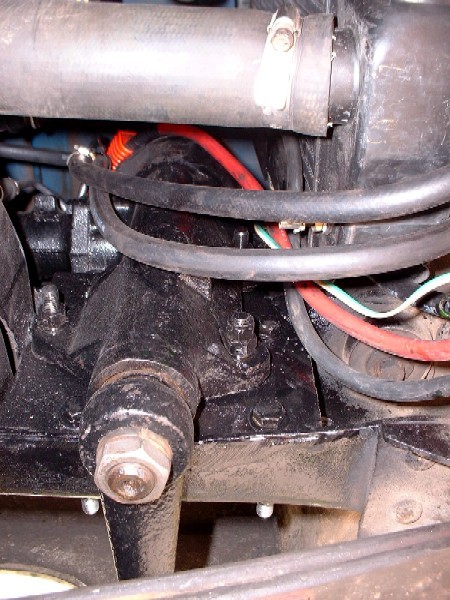
11.
Reinstall the steering sector to the plate using the jam nuts and lock
washers.
12. Measure
from the base of the splined input shaft of the sector to the base of
the output steering column shaft. Shorten the intermediated shaft to
this dimension, re-weld and install. I shortened mine approximately 4”.
13. Using
the steering wheel, center the pitman arm to mid stroke. Straighten
wheels to center (normal driving position) and measure from center of
pitman arm hole (the hole where the tie rod/drag link bolts through) to
the center of the steering arm hole.
14. Cut the
drag link in half, shorten to the proper dimension from above. Rotate
the ball joints to the corresponding angles (Note: the pitman arm is
angled slightly upward on the end, approximately 25°). Weld prep both
cut ends of the draglink and tack weld together. Do a quick fit-up with
the draglink to ensure is will work properly and take it to a certified
welder to have it finished welded. The draglink is made out of some hard
material, I’m guessing, but it’s something like 1045 and needs a proper
certified weld due to the forces in undergoes.
15.
Re-install the draglink with new cotter pins on the castle nuts. Bolt
drivers front wheel on and mount the corresponding pump bracket for your
engine. Install pump, belt, hoses and fill with power steering fluid.
16. Jack-up
the front end of truck so that tires are off the ground, start truck and
turn the wheel fully from side to side several times to purge the system
of any air. Check fluid level and repeat as necessary.
|